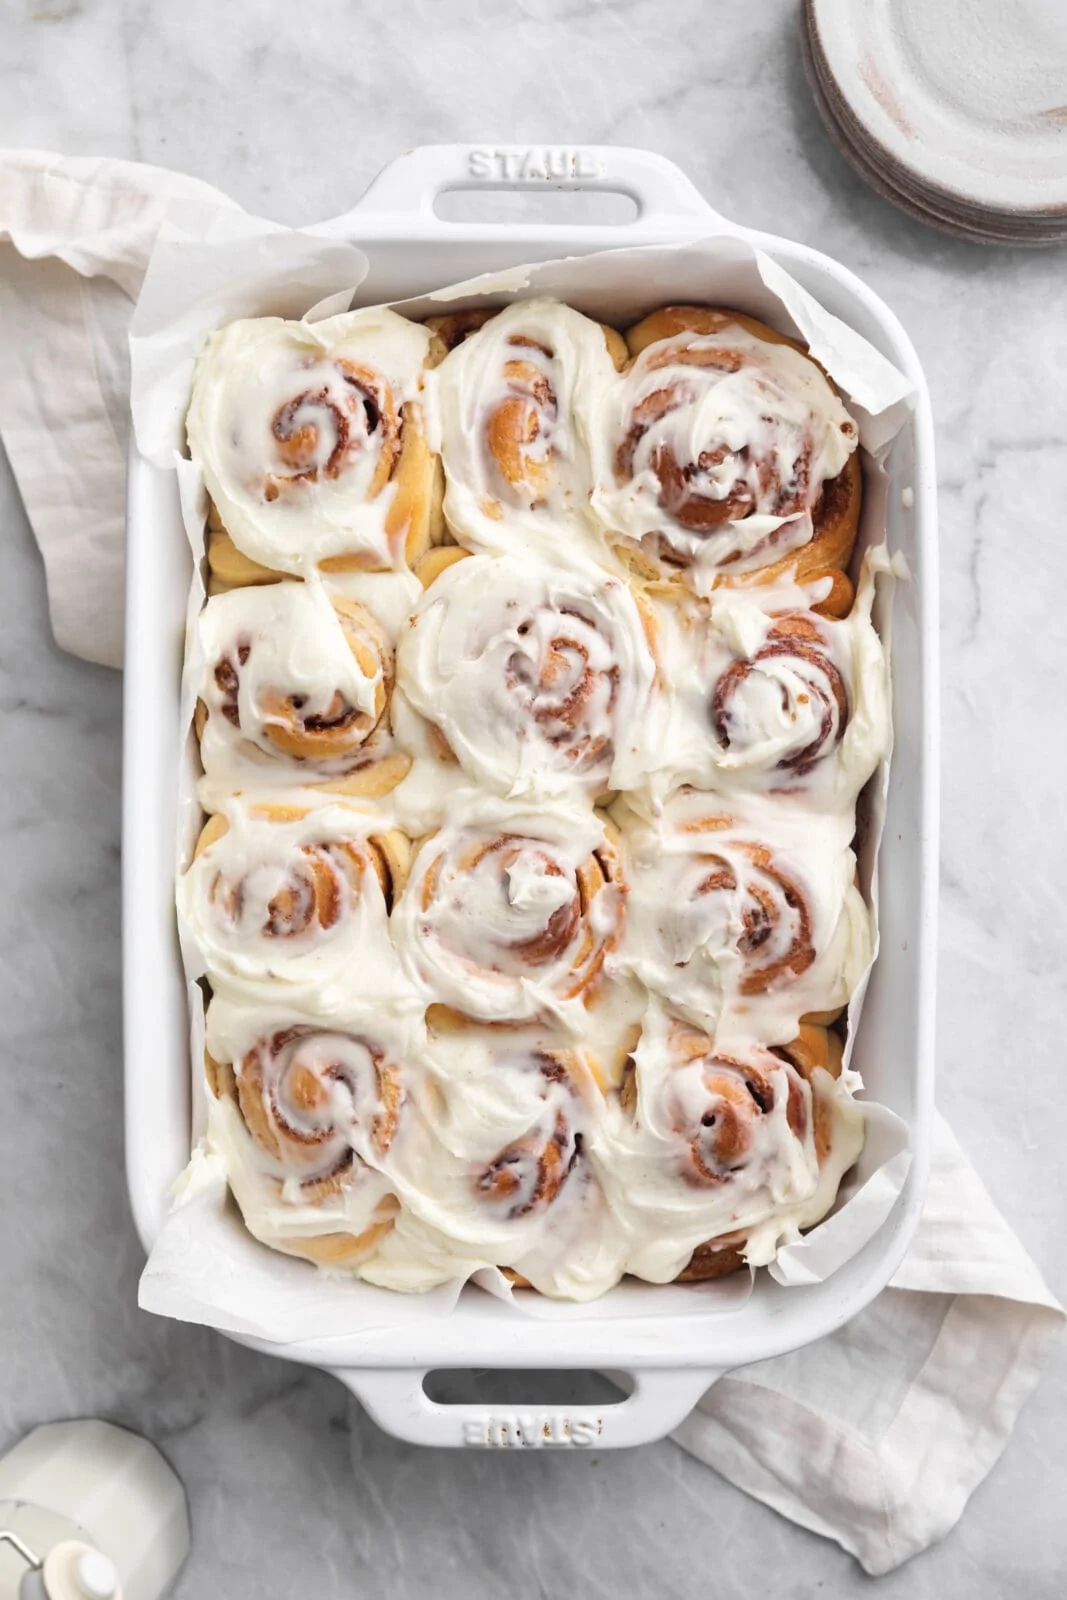
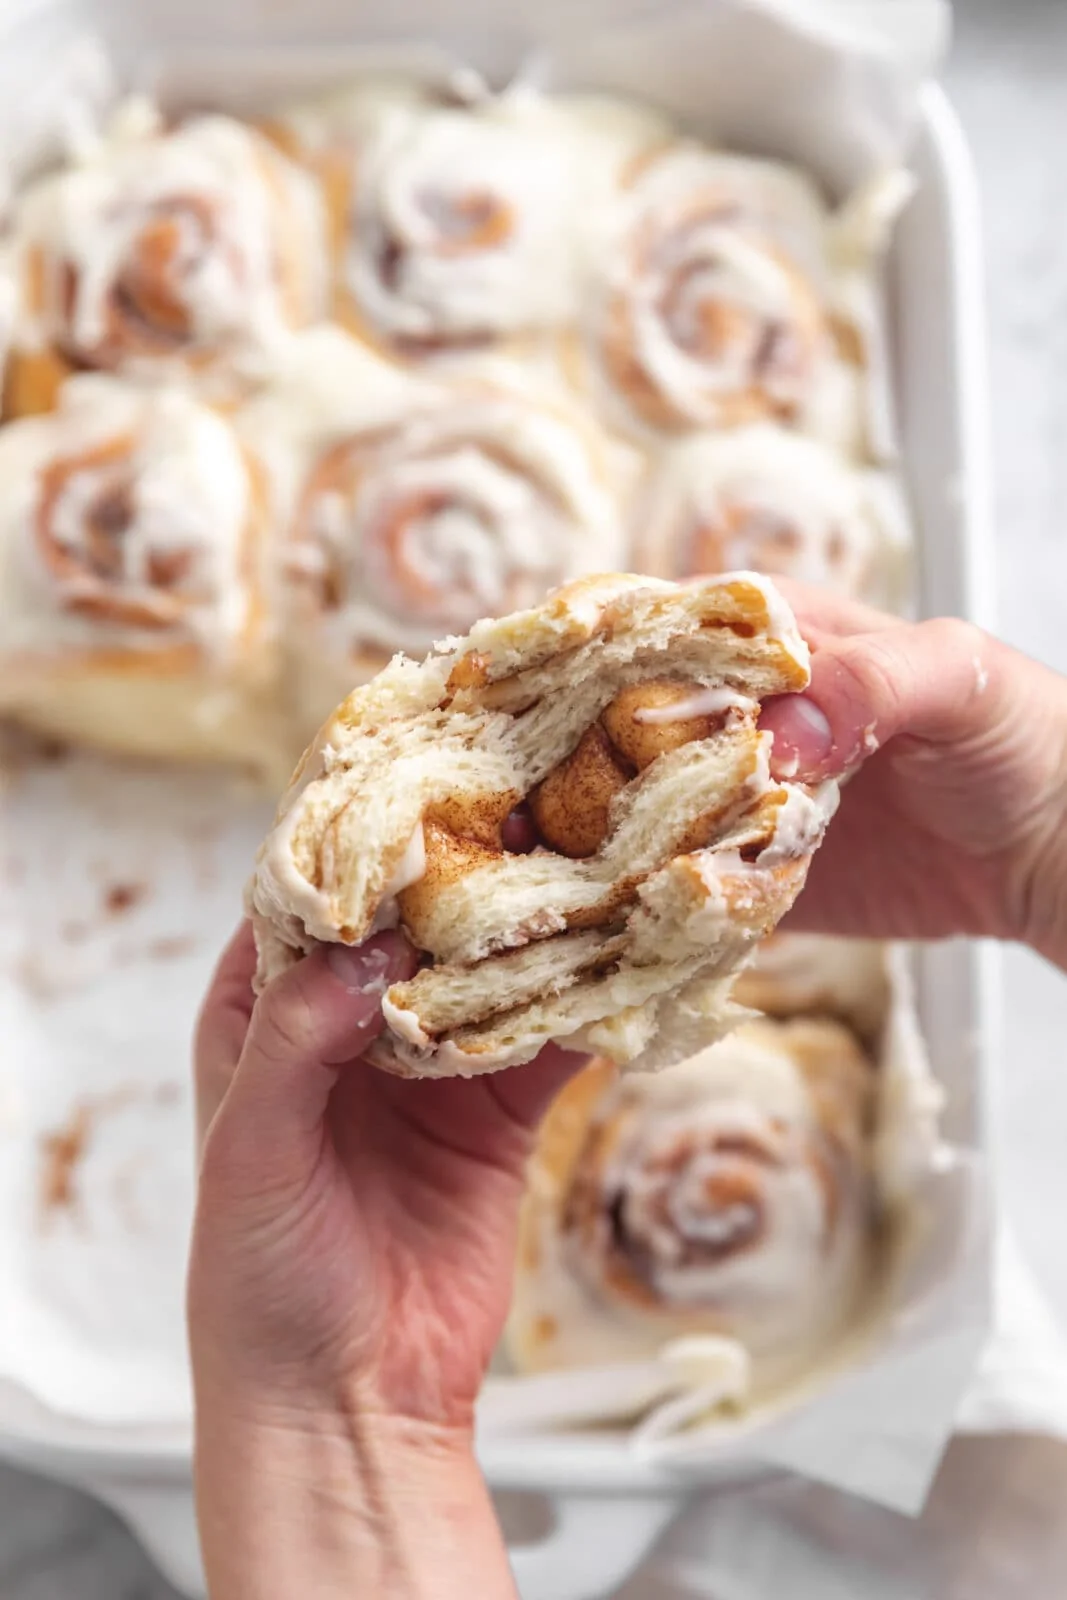
There is nothing better than pillowy soft, gooey-in-the-middle, smothered in cream cheese frosting, homemade cinnamon roll. These perfect cinnamon rolls taste even BETTER than Cinnabon.
Homemade Cinnamon Rolls
Let’s set the scene. I’m 11 years old, at the mall leaving The Limited Too with my mom. She just bought me the coolest bedazzled dress and glitter flared jeans (which I will wear together obvi). We’re walking towards Macy’s when the enticing scent of fresh baked Cinnabon wafts over. I have to have one. So I beg my mom.
My mom is the BEST, so the two of us get one for dinner. The perfect day: a new outfit for my 6th grade dance and a Cinnabon–truly is there anything better than this?
And the only thing better than a warm Cinnabon is a warm HOMEMADE cinnamon roll with a gooey center and luscious cream cheese icing.
Ingredients for homemade cinnamon rolls
- All Purpose Flour: All purpose flour is perfect for creating a pillowy soft, tender, slightly bready dough. I’ve also had success making these with bread flour, but I find bread flour makes them a bit chewier!
- Granulated Sugar: You’ll need a little granulated sugar to active the yeast and also to sweeten your dough slightly!
- Instant Yeast: We usually use Fleischmann’s Rapid Rise for these homemade cinnamon rolls, but any rapid instant yeast will work here! You can also use regular active yeast and double the rise times!
- Butter: You’ll need butter for both the cinnamon roll dough and the cream cheese frosting. We prefer using unsalted butter so you can control how much salty is going into your baked goods! That being said, if all you have on hand is salted butter that will work totally fine too!
- Milk: Any kind of milk will work in this recipe, but for a super soft, buttery dough we recommend using whole milk!
- Eggs: These homemade cinnamon rolls are an enriched dough, meaning the recipe calls for eggs. The eggs will give your dough a soft structure!
- Cinnamon: UH DUH. You’ll need cinnamon for the cinnamon sugar filling! Sometimes when I’m feeling spicy, I put 1 teaspoon in the dough too!
- Brown Sugar: Brown sugar is the perfect, caramel-y, soft sugar to use for your cinnamon sugar filling. You can feel free to use light brown sugar or dark brown sugar, but you we do not recommend subbing it out for granulated sugar–it won’t melt in the same way!
- Cream Cheese: In my opinion it’s not a cinnamon roll if its not absolutely smothered in cream cheese frosting. It’s imperative that you use room temperature cream cheese to get that nice creamy, smooth consistency.
- Powdered Sugar: You’ll need powdered sugar to sweeten and thicken your cream cheese frosting.
How to make homemade cinnamon rolls
- Make the cinnamon roll dough and knead f0r 10 minutes until it passes the window pane test.
- Let the dough rise for 1 hour.
- Roll out the dough, spread with the filling, and roll up!
- Slice the cinnamon rolls into 12 equal pieces and place in a pan.
- Let the rolls rise for another hour.
- Bake for 30 minutes or until golden brown.
- Finally, Top with cream cheese icing. Lick the spoon (obviously), and dive into your gooey homemade cinnamon rolls!
How to know when to stop kneading your cinnamon roll dough
Tips for baking with yeast for beginners
- Make sure your yeast is fresh: There is NOTHING worse than going through all the kneading and steps of cinnamon roll baking and then coming back to your dough after its first rise and finding it flat. It’s happened to me before and it’s truly soul crushing. You don’t have to activate instant yeast, but
- Let the dough have its full rise time: Yeasted dough requires some extra time and planning but it’s so worth it for homemade cinnamon rolls. Make sure you give the dough the full rise time for the ultimate soft and fluffy dough. If you try to rush the process you can end up with sad, dense rolls.
Tips for the perfect homemade cinnamon rolls
If you’re new to yeasted dough, follow the recipe closely, trust the process, and keep at it!
- Use high quality ingredients: You saw the shopping list–cinnamon rolls use just a few, basic ingredients, so their quality will really shine through in the finished product. Use good butter, real cream cheese and high quality cinnamon!
- Don’t over bake them: I think we can all agree that the best part of a cinnamon roll is the gooey, slightly under baked center. It’s a fine line between over baked and too doughy, so keep an eye on them in the last 10 minutes of baking and remember that they will continue to bake as they cool!
- Eat them warm: Cinnamon rolls are best hot from the oven (duh.), but don’t worry if you have leftovers that you want to enjoy later. Simply pop your cinnamon roll in the microwave for 20 seconds to get it gooey and warm again!
How to store these cinnamon rolls so they stay pillowy soft and fluffy
- Underbake the rolls slightly: This is the cardinal rule of cinnamon roll baking. The best part about homemade cinnamon rolls is that slightly underbaked doughy center. This will also help the rolls stay moist and soft if you’re storing them!
- Only frost the cinnamon rolls you’re planning on eating: Frosting can get a little weird when it goes through a bunch of temperature changes. I find these cinnamon rolls keep best unfrosted so they don’t get soggy. Simply keep the frosting in a container in the fridge and frost your cinnamon roll when you’re ready to eat it!
- Store in an airtight container or tightly wrapped: This will help seal out any air and keep your homemade cinnamon rolls soft!
- Heat up before eating: Cinnamon rolls are always best ooey gooey and warm. Simply pop your cinnamon roll in the microwave for 30 seconds or in a 350°F oven for 10 minutes to heat it back up to that fresh baked warmth!


Comments
Post a Comment